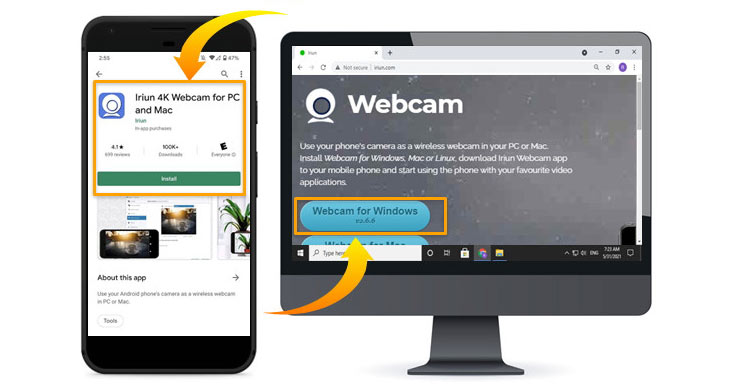
In this digital age, video communication has become an integral part of our lives. Whether it’s for virtual meetings, online classes, or connecting with loved ones, having a reliable webcam is essential. Iriun Webcam stands out as a popular choice for users seeking a versatile and high-quality webcam solution. In this comprehensive guide, we’ll walk you through the step-by-step process of connecting your Iriun Webcam to your PC, ensuring a seamless experience for all your video communication needs.
Understanding Iriun Webcam
Before diving into the connectivity process, let’s take a moment to understand what sets Iriun Webcam apart. Known for its user-friendly interface and superior video quality, Iriun Webcam allows you to transform your smartphone into a powerful webcam. Compatible with both Android and iOS devices, it offers a cost-effective solution for those seeking an upgrade from their built-in laptop cameras.
Downloading and Installing Iriun Webcam App
The first step towards connecting your Iriun Webcam to your PC is to download and install the Iriun Webcam app on your smartphone. Visit the App Store (for iOS) or Google Play Store (for Android), search for “Iriun Webcam,” and proceed with the installation. Ensure that both your smartphone and PC are connected to the same Wi-Fi network for a smooth setup.
Connecting Iriun Webcam to Your PC
Now that both the app and client are installed on your devices, launch the Iriun Webcam app on your smartphone and the client on your PC. The app will automatically detect your PC on the same Wi-Fi network. Once detected, select your PC from the list of available devices.
Configuring Camera Settings
To ensure optimal video quality, it’s essential to configure the camera settings within the Iriun Webcam app. Adjust parameters such as resolution, frame rate, and exposure to meet your specific requirements. Experiment with these settings to find the perfect balance between clarity and performance.
Testing Your Iriun Webcam
Before jumping into your virtual meetings or online classes, it’s advisable to run a quick test to ensure everything is functioning as expected. Open your preferred video conferencing app or webcam testing website and select “Iriun Webcam” as the default camera. Conduct a test call or video recording to confirm that the connection is stable, and the video quality meets your expectations.
Conclusion
Connecting your Iriun Webcam to your PC opens up a world of possibilities for enhanced video communication. By following the steps outlined in this guide, you can enjoy a seamless and high-quality webcam experience for your virtual meetings, online classes, or casual video chats. Stay connected with confidence, knowing that your Iriun Webcam is ready to deliver exceptional performance whenever you need it.

